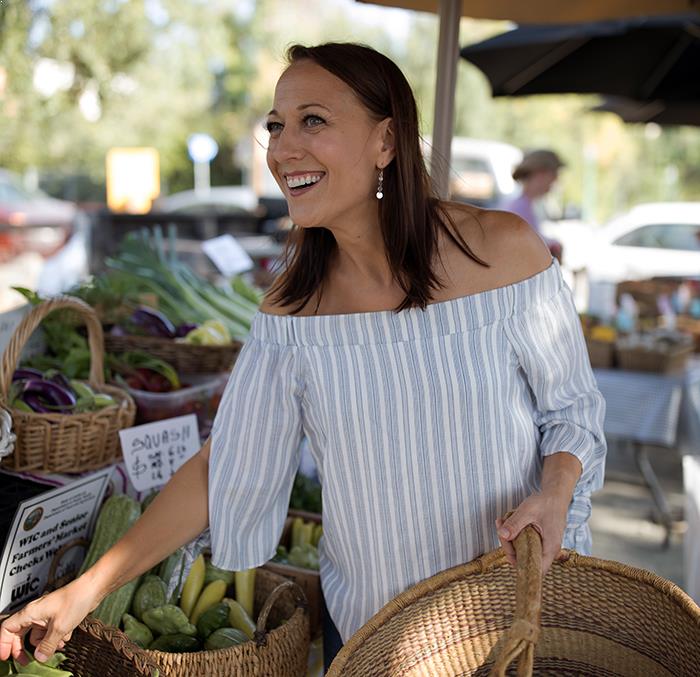
I'M LIA HUBER and I want to encourage people to eat deliberately and live authentically -- to be nourished and feel alive in everything they do.
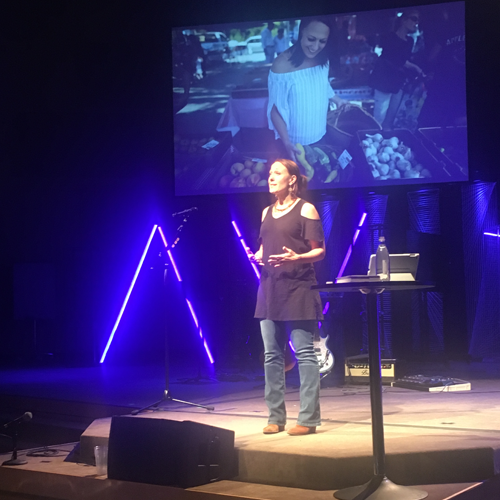
As an author, entrepreneur and speaker, the message I want to share goes way beyond food.
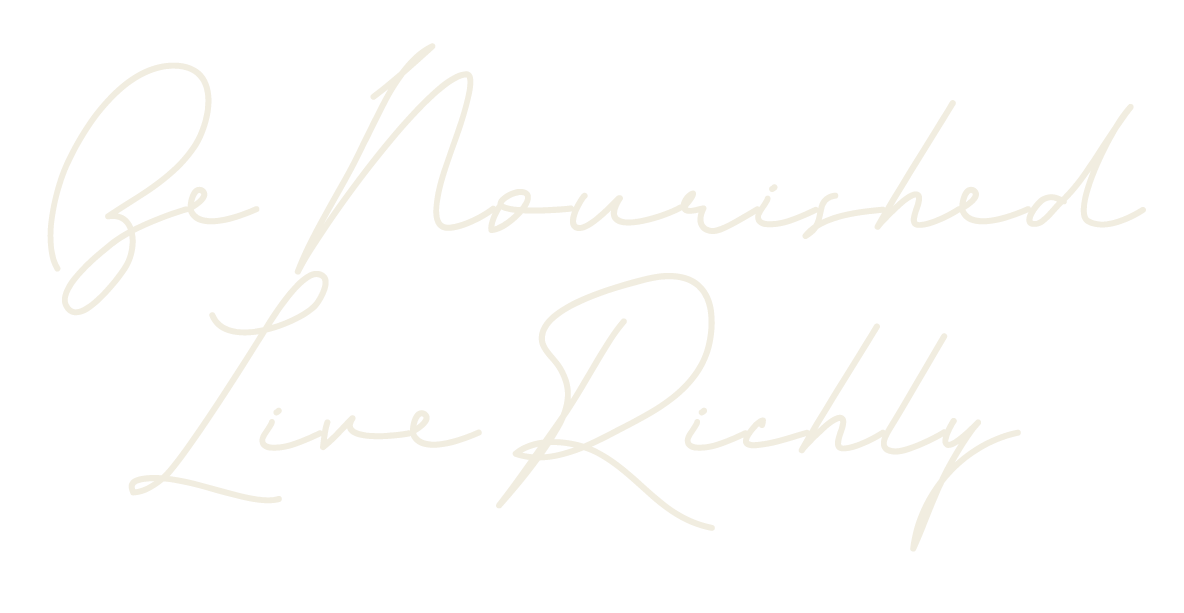
This is how to live richly regardless of what we have. But the journey of a richer life takes time, effort, intention and belief. And it begins by nourishing ourselves from the inside out.


Do you want to eat better? Find more balance? Strengthen your belief? Build the business of your dreams? Or just explore your path?
SIGN UP
FOR NEWS ON NEW BOOKS, WORKSHOPS, EVENTS & MORE
GET UPDATES ON NEW BOOKS, WORKSHOPS, EVENTS AND MORE.
SIGN UP HERE.
![]() You can trust me ... I'll never spam you.
You can trust me ... I'll never spam you.